Firstly, I find a piece of fabric about the size I want the bag. You can make them any size you wish. Some of my bags are long pieces folded in half, so the fold is at the base of the bag. This one is made from 2 pieces of fabric, so you will need to sew the base and sides. I use about 1cm - 1.5cm seams and then either overlock or zigzag stitch the seams.

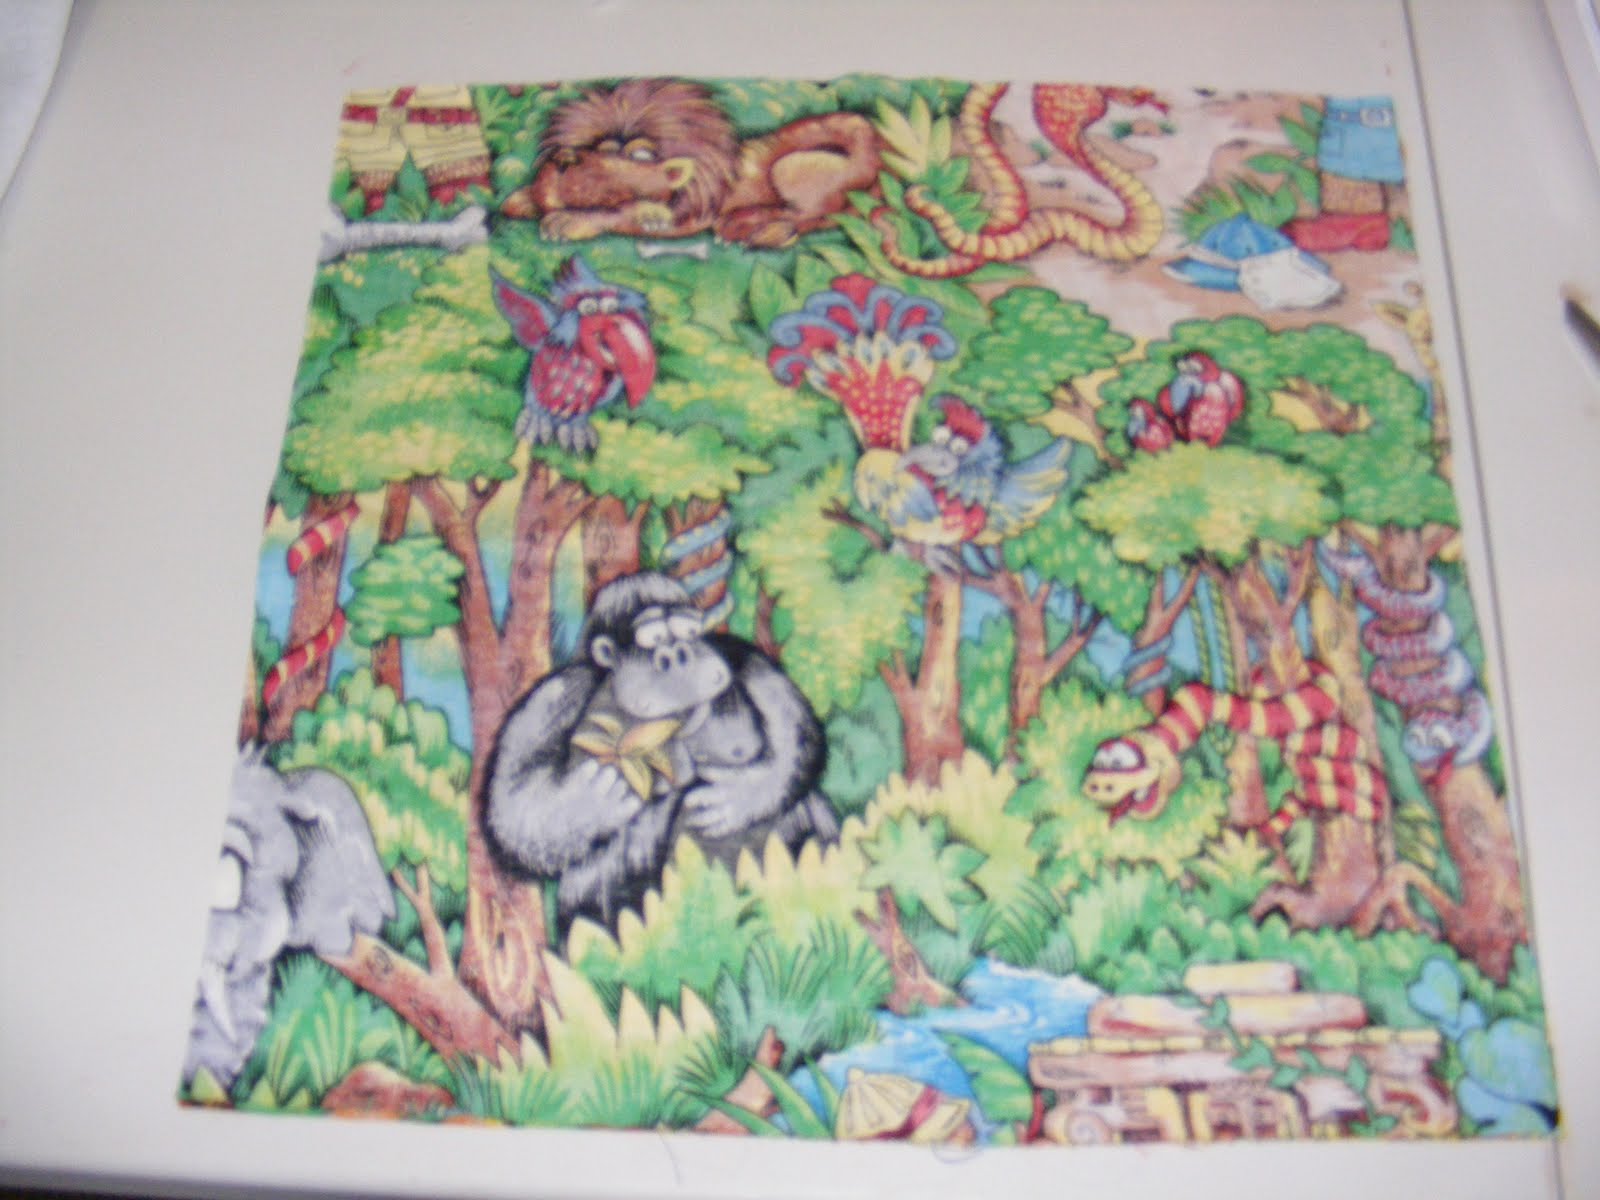
The photo to the left is the cut fabric, face them right sides together to sew. The photo to the right (with my son's hand) shows the sewn seams. I also snip the corners at the base if you are sewing the base so the corners sit nicely. No need to do this if it is folded.


I also overlock/zigzag around the top raw edge. Then fold over about 2-3cm to the inside and iron as shown on the left. Sew about 1/2cm away from the raw edge of fabric, leaving about 2-3cm gap between the start and end of stitching. I have tried to show this in the photo on the right. This is to allow the cord/ribbon to be threaded through.


Lay the bag flat and measure the cord/ribbon/rope along the top twice (to do the circumference) and add about 3-4 cm extra for the knot.
Loop one end over if using cord and attach a saftey pin. This helps you guide the cord through the fabric. When the cord is through, take the pin out and tie a knot in the end and trim the ends evenly. Turn the bag inside out, iren seams and there you go :)
I hope this is easy to follow, if you have any problems or questions please let me know :)
You can use pretty much any fabric you choose for these. If you want a bag for wet/damp items, you could use that backed fabric used for curtains, or a coated fabric. I saw some fabric at Spotlight the other day that was like what spray jackets are made out of, so you could even use that. This bag is just cotton. You can use plains or patterns. On my boy's bags I have made them out of flannellette that was left over from some pj's I made them, then I sewed a patch of plain fabric on and used fabric paint to put their names on. For my son's kindy sheet bag, I used some plain flannellette and cut out the letters of his name in a matching patterned flannellette that I had used to trim his kindy sheet with and attached them with flisofix (like double sided iron on interfacing) and fabric painted around the edges. The options are endless. Enjoy!
I really need to get a sewing machine. I might even be able to manage this!
ReplyDelete